We love these skirts! They are fun to make and look great. With the endless number of different materials and all of the different colors and washes of jeans these skirts are one of a kind.
Materials needed
1 Pair Jean Pants
2 Yards of Material
Sewing Machine
Thread
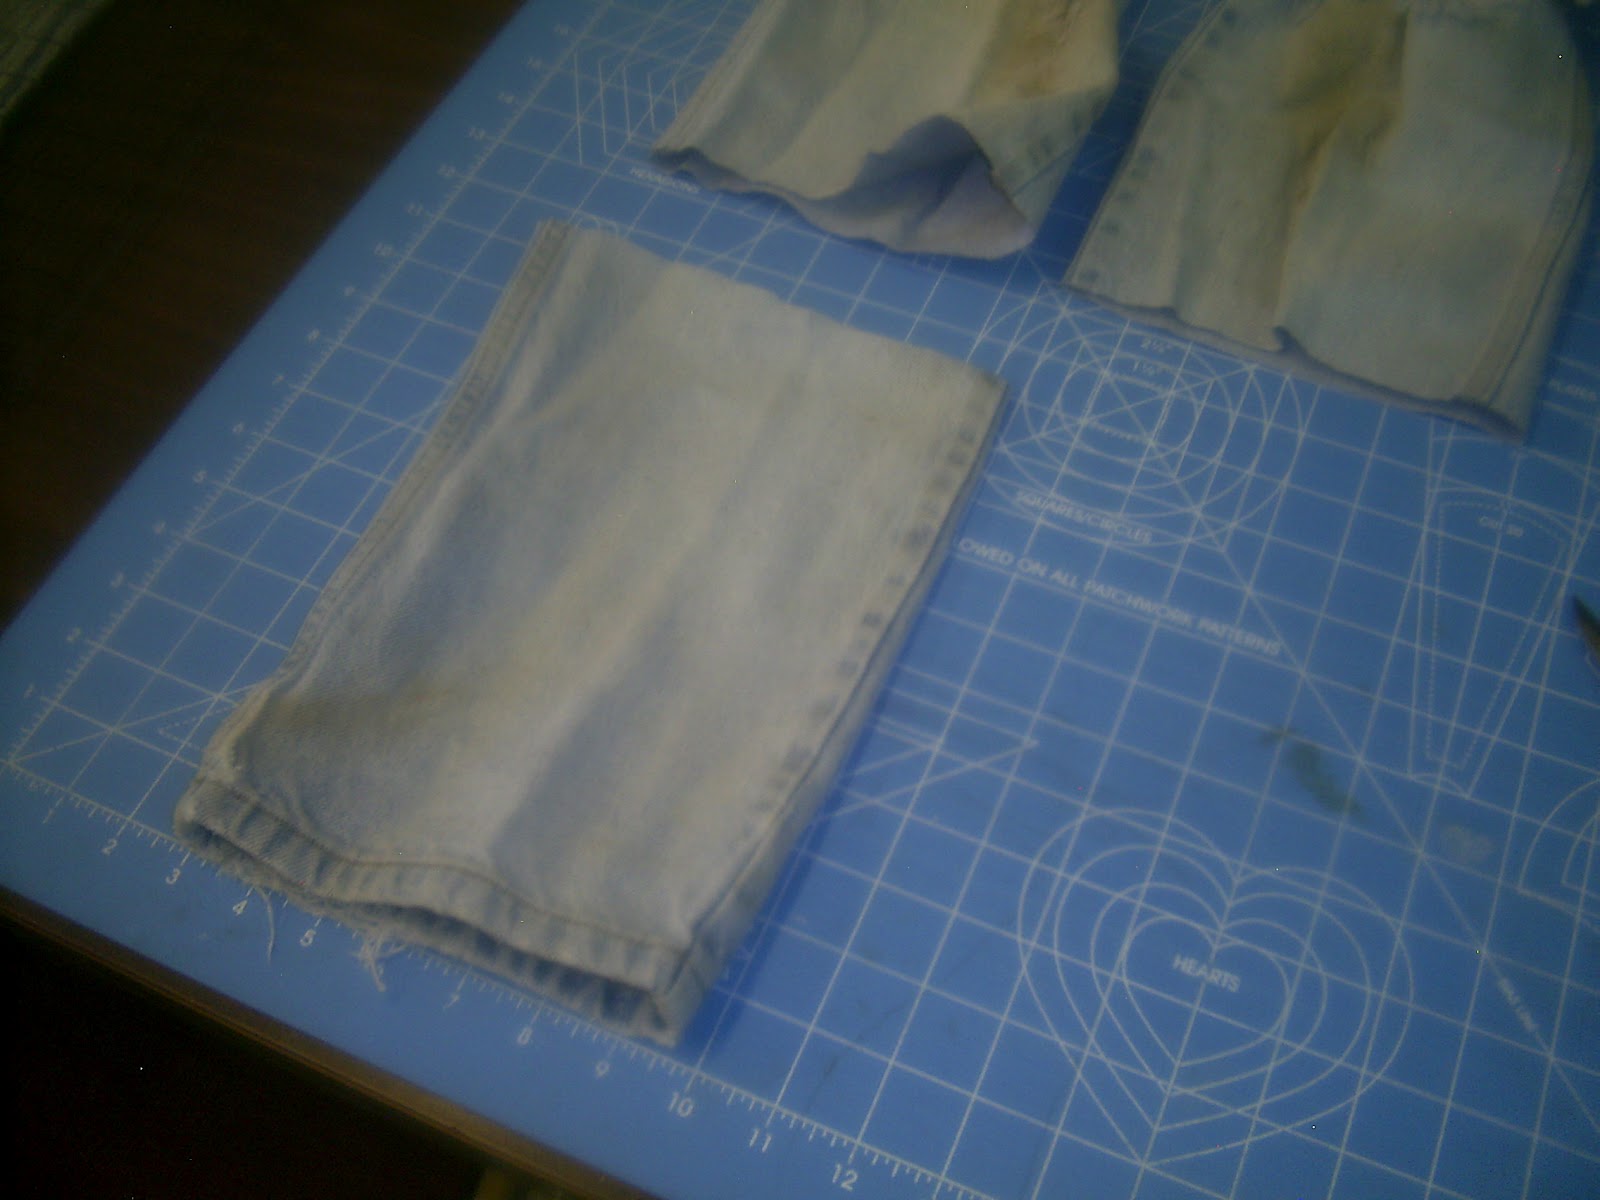
I started by laying the jeans flat on my cutting mat. I then cut off the jeans under the zipper, but above the middle of the crotch where the 4 seams come together.
Here they are cut. Make sure to stretch out the bottoms of the pants. These pants measured 22 inches. To find the measurement of the material you double the material and add at least 5 inches. I cut the material for this skirt at 49 inches.
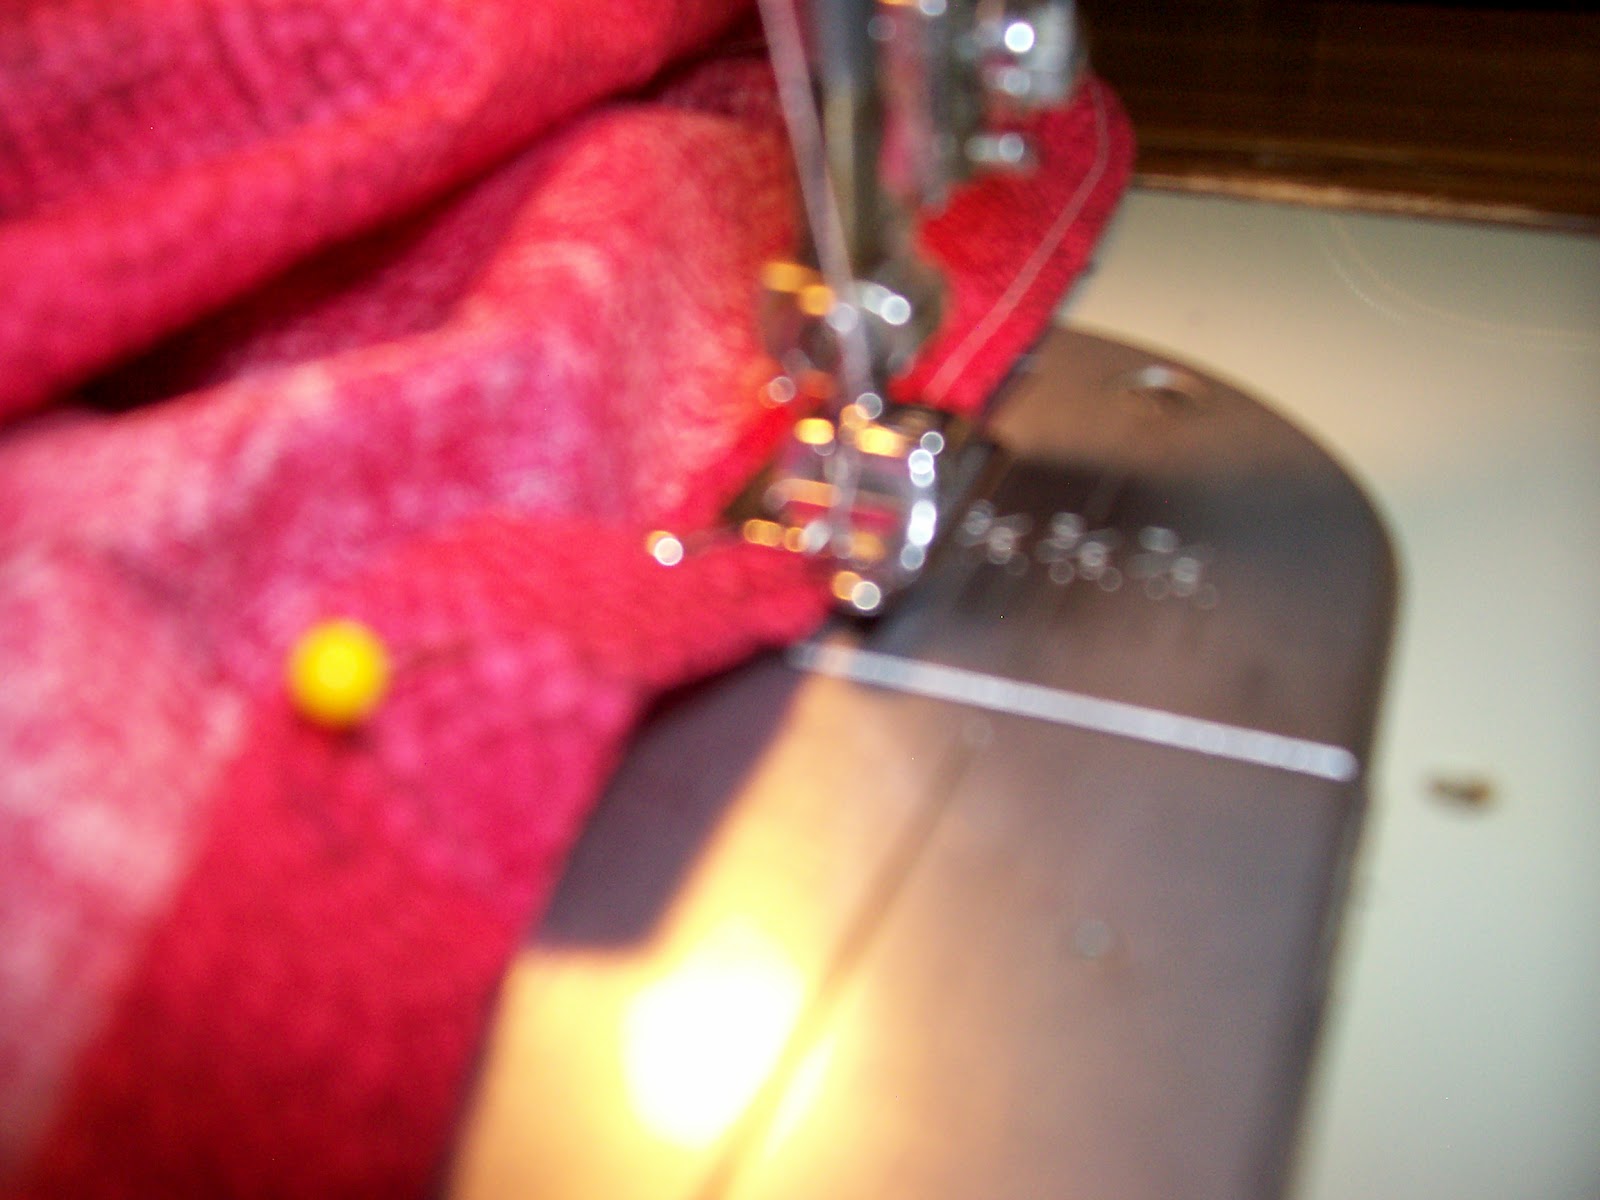
Sew your material right sides together so that you have a tube. Set your stitch length for the longest stitch you can. Next sew around the skirt 1/4 inch from the edge. Then sew 1/4 inch from the first set of stitches.
Gather the material to match the width of the jeans. Pin and sew together.
This is what the skirt will look like right side out.
I then hemmed the skirt. How you hem it is up to you and what you like.
Add a belt of made of matching material.
Now you have a beautiful skirt that is rugged as well.
Like our projects, but don't have the time? Then check out our
E-bay Store! We will be adding more soon. Happy Crafting! ~Elizabeth